Clibase offers two (2) ways to grow your business and generate new revenue.
No matter who you are — a big enterprise, a small company, a freelance developer, or a designer, you can benefit from a partnership with Clibase.
Depending on your goals and the size of your company, we offer a suitable option for you:
- Referral program:Get 10% commission on the setup fee and 5% on monthly subscriptions.
- Reseller program:Get 20% commission on the setup fee and 10% on monthly subscriptions.
To become an Clibase partner, choose one of the programs depending on your needs, contact us, and start earning your revenue share.
Depending on the type of business you are running and the way you want to sell your products, your needs might vary.
Because of this, Clibase offers several subscription plans that have different monthly fees and store features.
A more detailed information of our pricing plan can be found here.
First things first, you have to decide what products to sell and how to evaluate the potential of your idea.
- Choose what category you want to sell: services, physical products, or food & beverages or properties
- Analyze competition, current market situation, and revolving capital.
- Name your business.
- Create a logo.
- Set product list & pricing strategy.
- Marketing programs.
- Contact Clibase sales team :)
It's time to setup your store!
Because there are so many different ways that you can use the features of Clibase, it's easy to wonder how and where to get started the key steps on the way to your first sale.
This section of the Learning Center outlines the most important tasks to get your Clibase business up and running as quickly as possible.
After our team gathered the basic information we need from your business via the Viber group, your Company Account will be created. Then the Business Owner Account, once created your credential as the owner and further instructions will be sent via email.
You are now ready to setup your first store! Congrats!
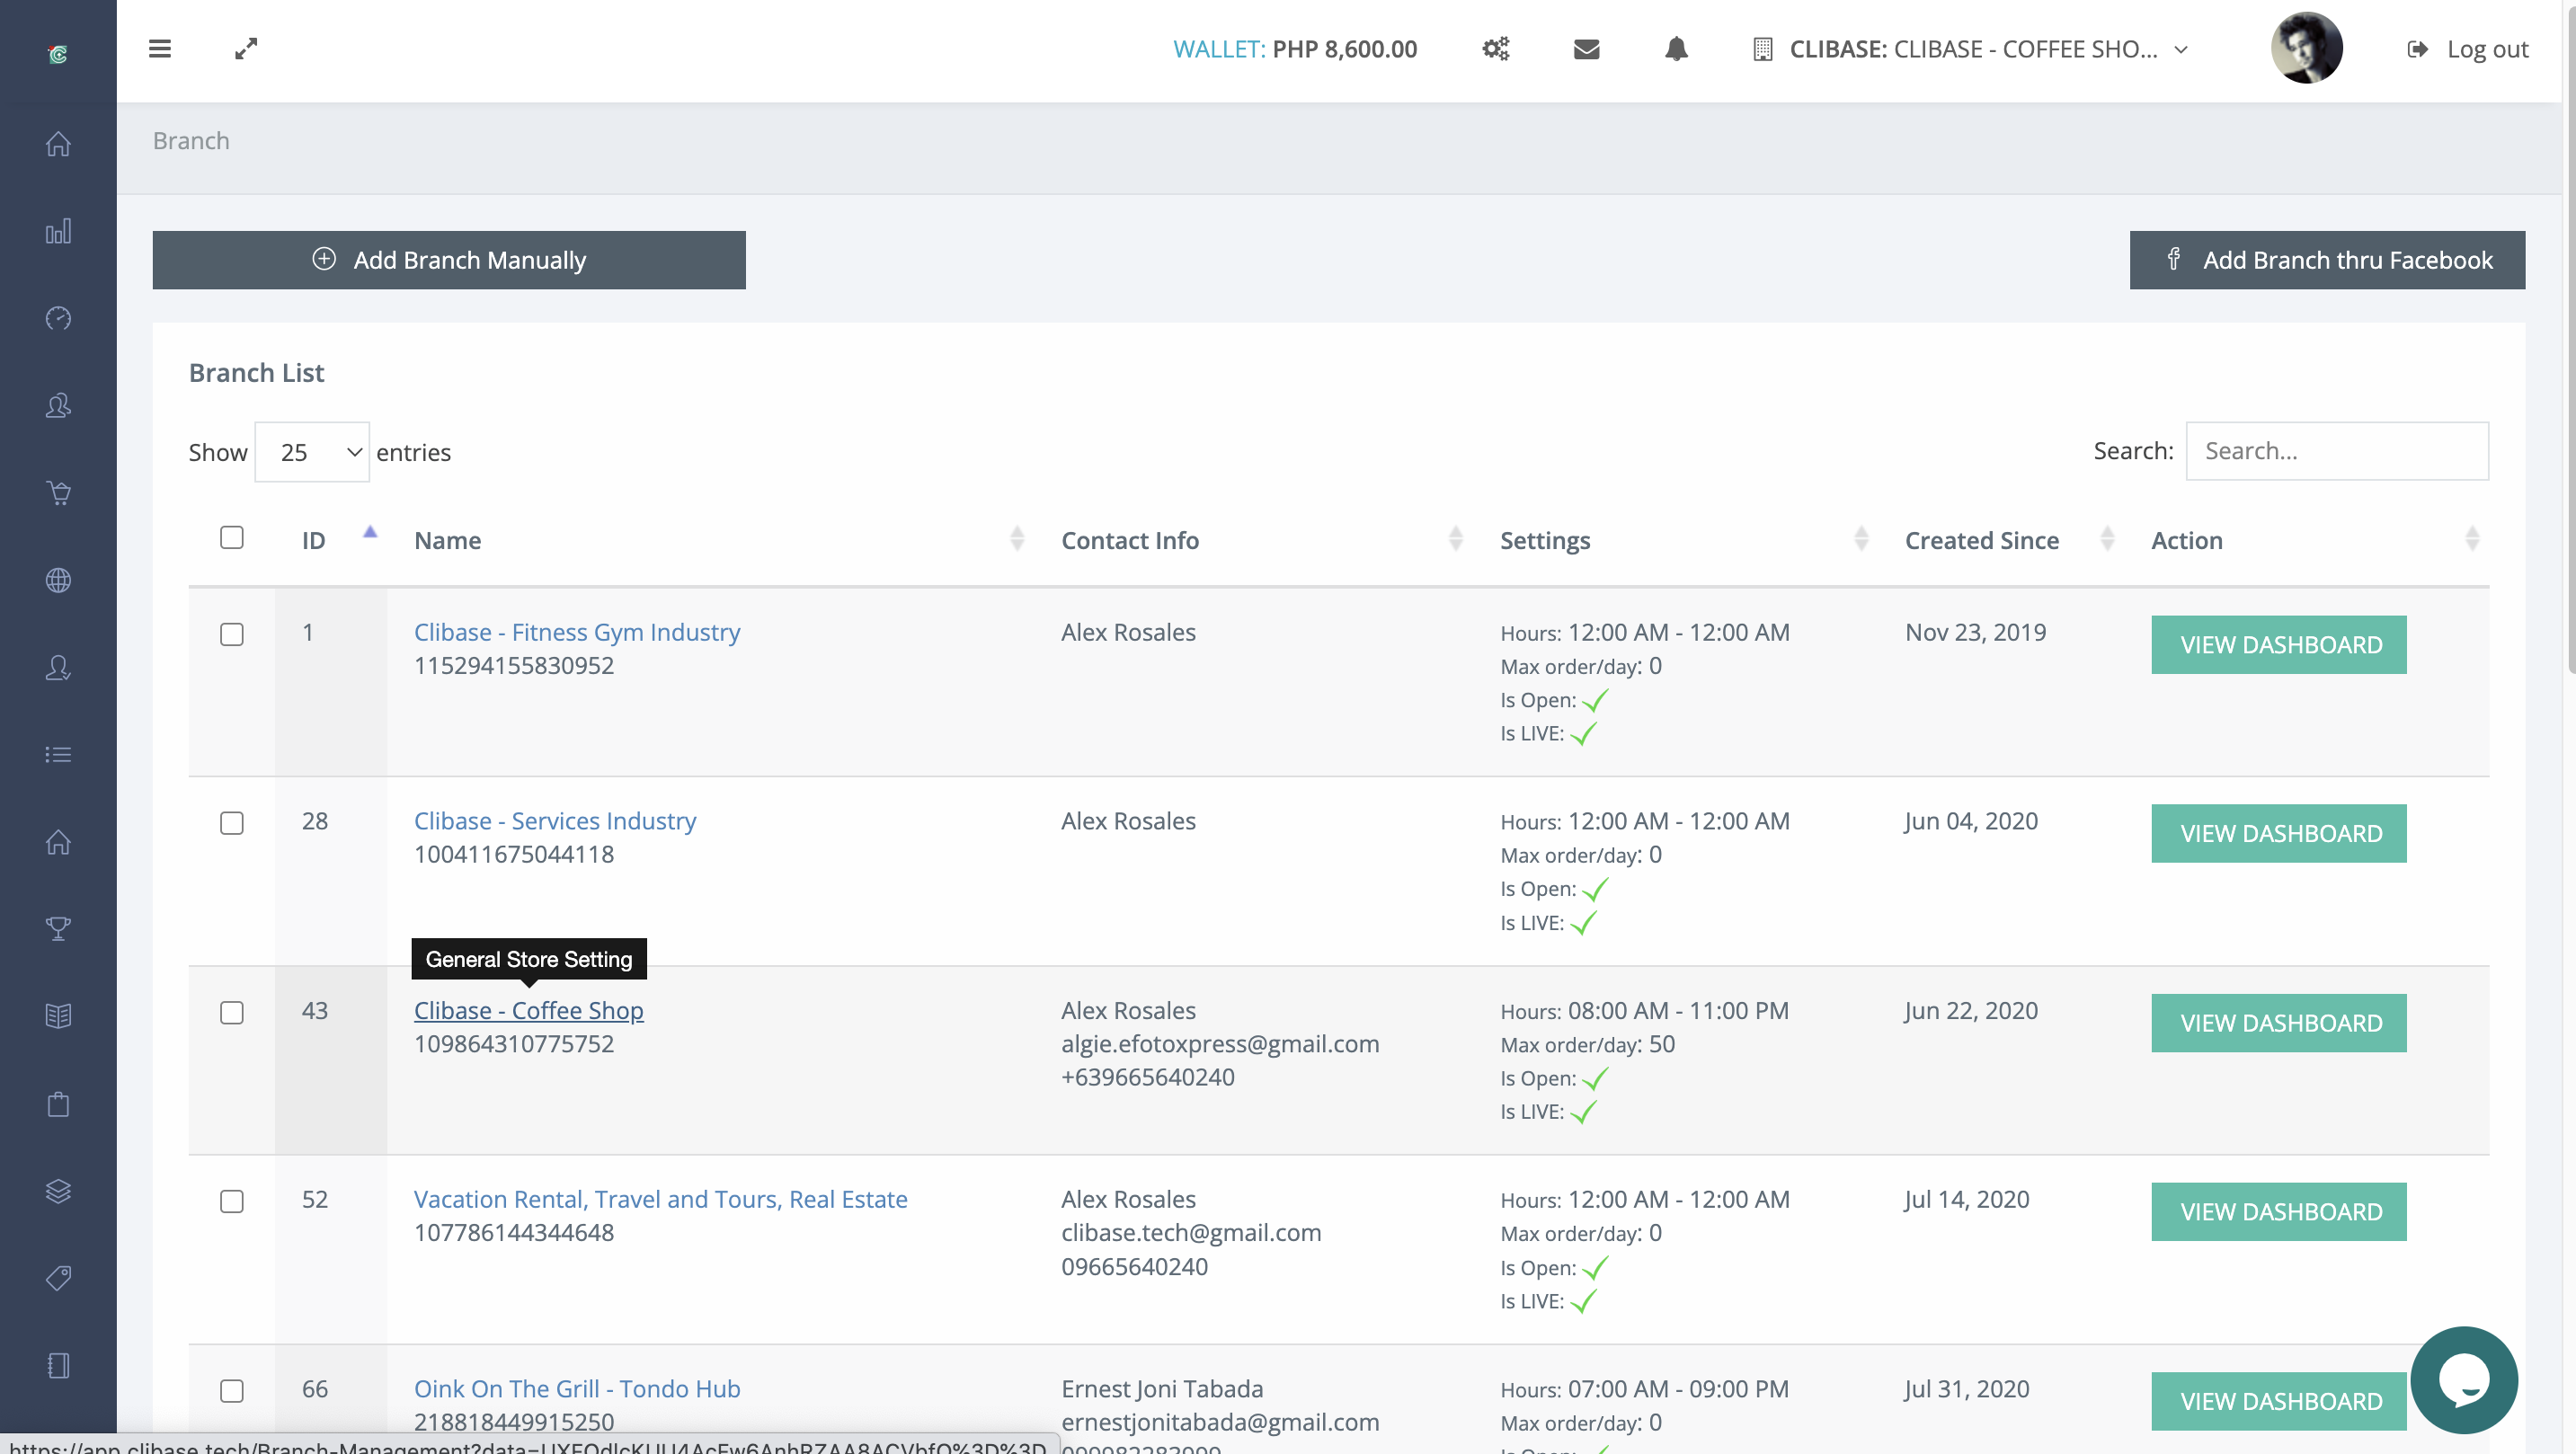
Login to Clibase Admin Portal then click on the following buttons:
- Add Manual Branch:If you don't want to utilize the Messenger Online Store.
- Add Branch thru Facebook:To utilize the Messenger Online Store, Operational BOT, Auto-Reply, Live Selling (TBA), and many more.
During the initial store setup you may have already configured the general business settings for your online shop – such as your store’s name and address, country and currency.
Before you launch your store to the public, it is important to go over the general settings once again to make sure they are all set correctly.
You can access the general store settings in Branch List → General Store Setting
Note
Starting May 28, 2022 the Facebook Sales Channel is managed by Meta. Your existing activities are not affected, and can be accessed in your Facebook Ads Manager.
With billions of users, Facebook is one of the most popular social media in the world. You can connect your Clibase store to Facebook in a few clicks and start selling directly on Facebook Messenger App.
Clibase has 2 ways of selling thru Facebook.
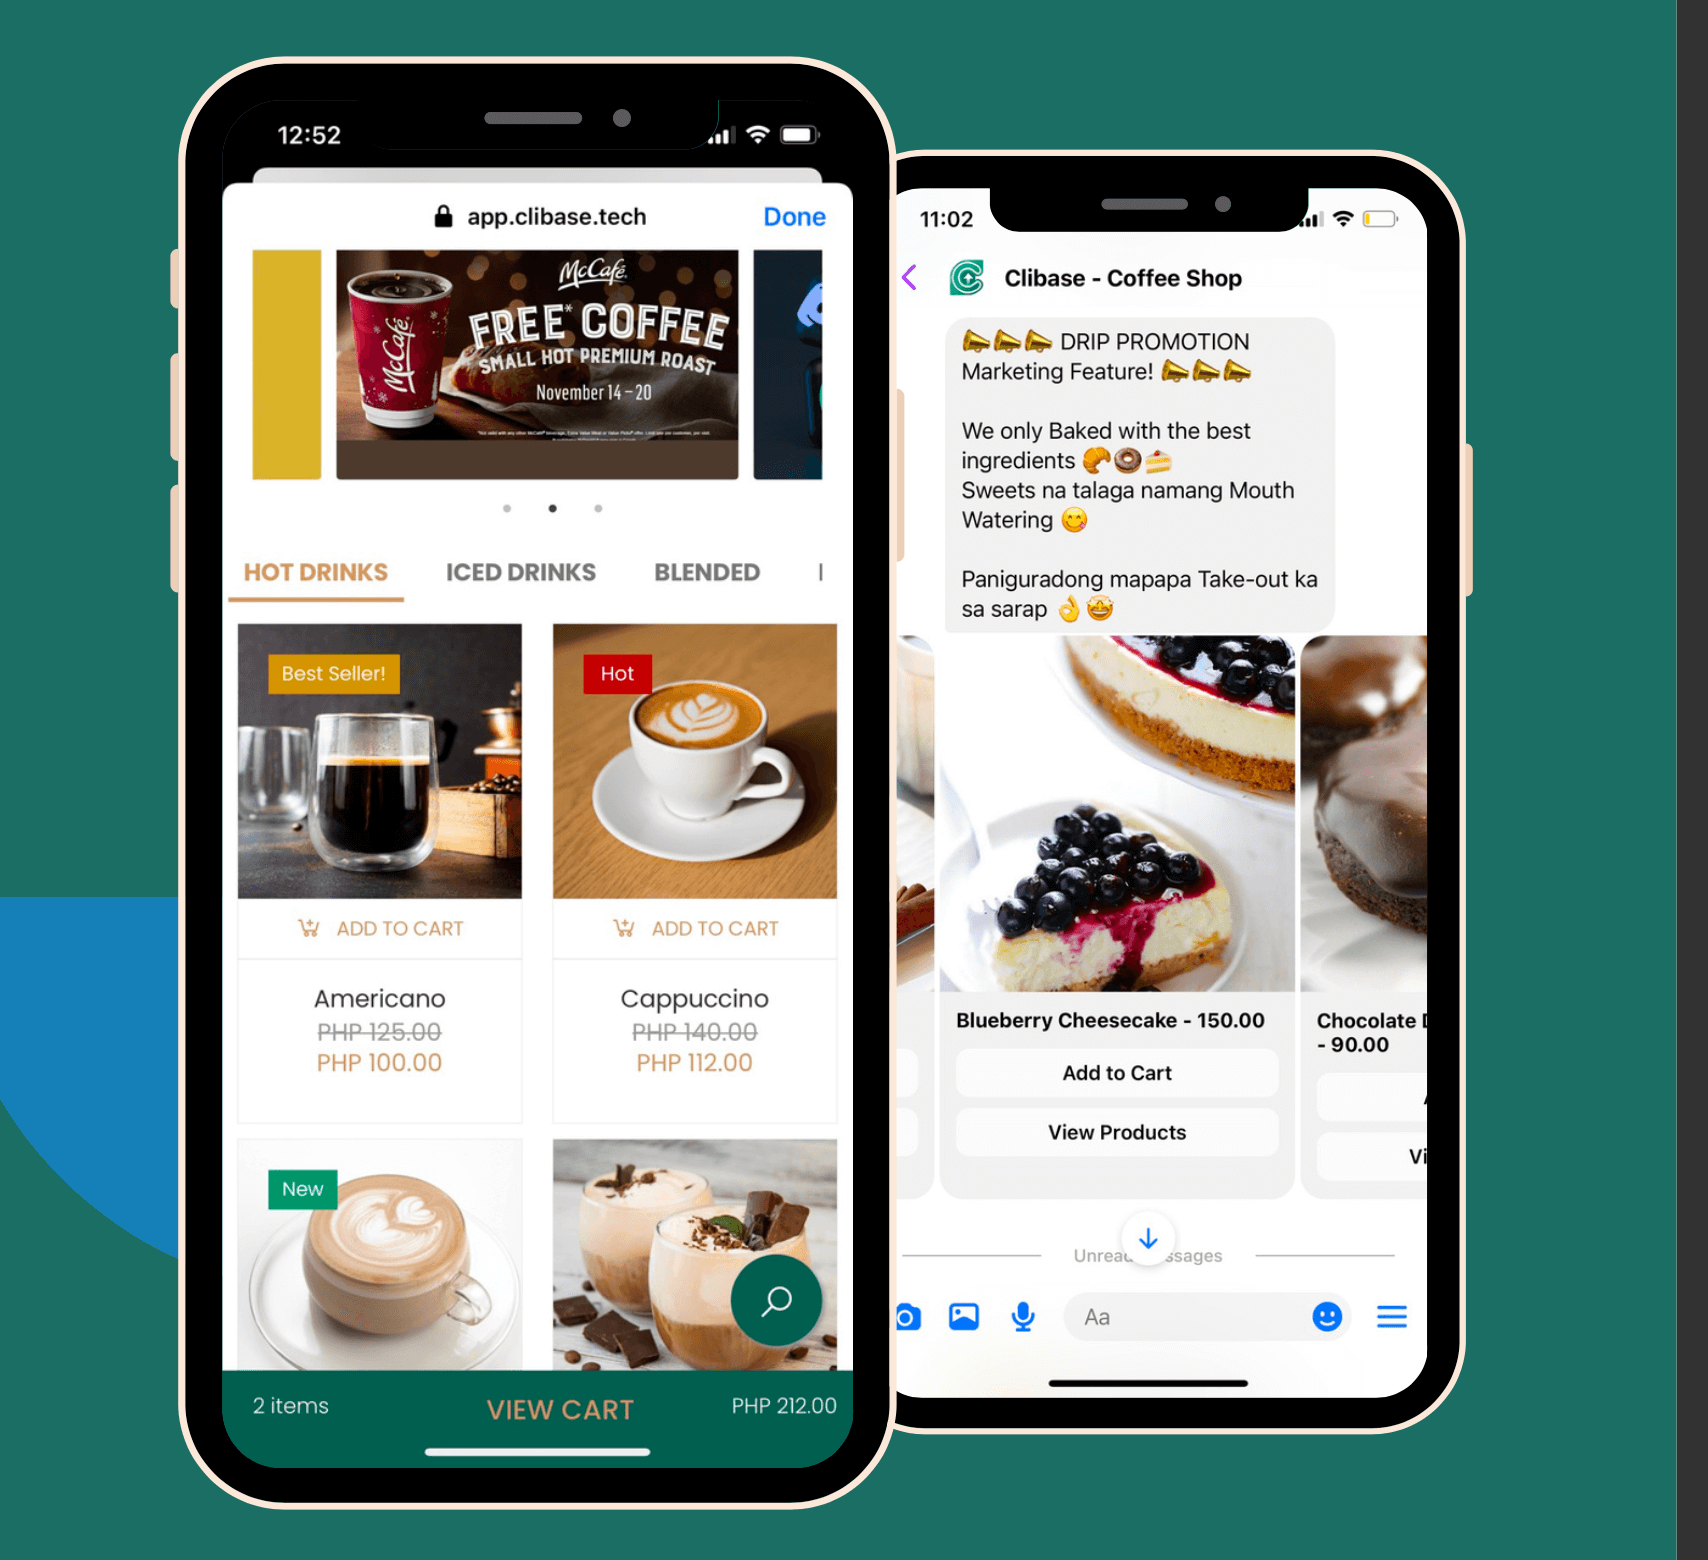
- Messenger Online Store:Customers can browse and engage with your catalog either via a mini-store application or automated-chat inside their Messenger App.
- Facebook Page Shop:Customers can browse your catalog directly through the Shop section of your Facebook page from their PC, tablets, or Facebook's mobile app.
Following the simple wizard, you can connect your Facebook Page to Clibase at once.
You can connect multiple Facebook Business Page to just one Clibase Account. Multiple Facebook page is equivalent to multiple store/branches, each branches have each own Monthly Subscription Fee (MSF).
Caution
If you already have an active Shop section on your Facebook page, Clibase will override the existing products when you connect your Clibase to your Facebook shop.
To connect your Facebook Business Page to Clibase:
- From your Clibase Admin Portal → Branches List, click on "Add Branch thru Facebook" button.
- In the popup, log into your account or continue with your account if you are already logged in.
- Click Get Started.
- Choose the Facebook page to connect, then click Continue. Or click Create new and follow the wizard to create a new Facebook page.
- Make sure you tick all the checkboxes.
- Click Continue, next you're Done :)
Note
Make sure to use a desktop or laptop when connecting facebook page for a stable integration.
Once your page is Facebook Page is successfully connected, you may now be able to View Dashboard, Upload Products, set Shipping rates, and etc.
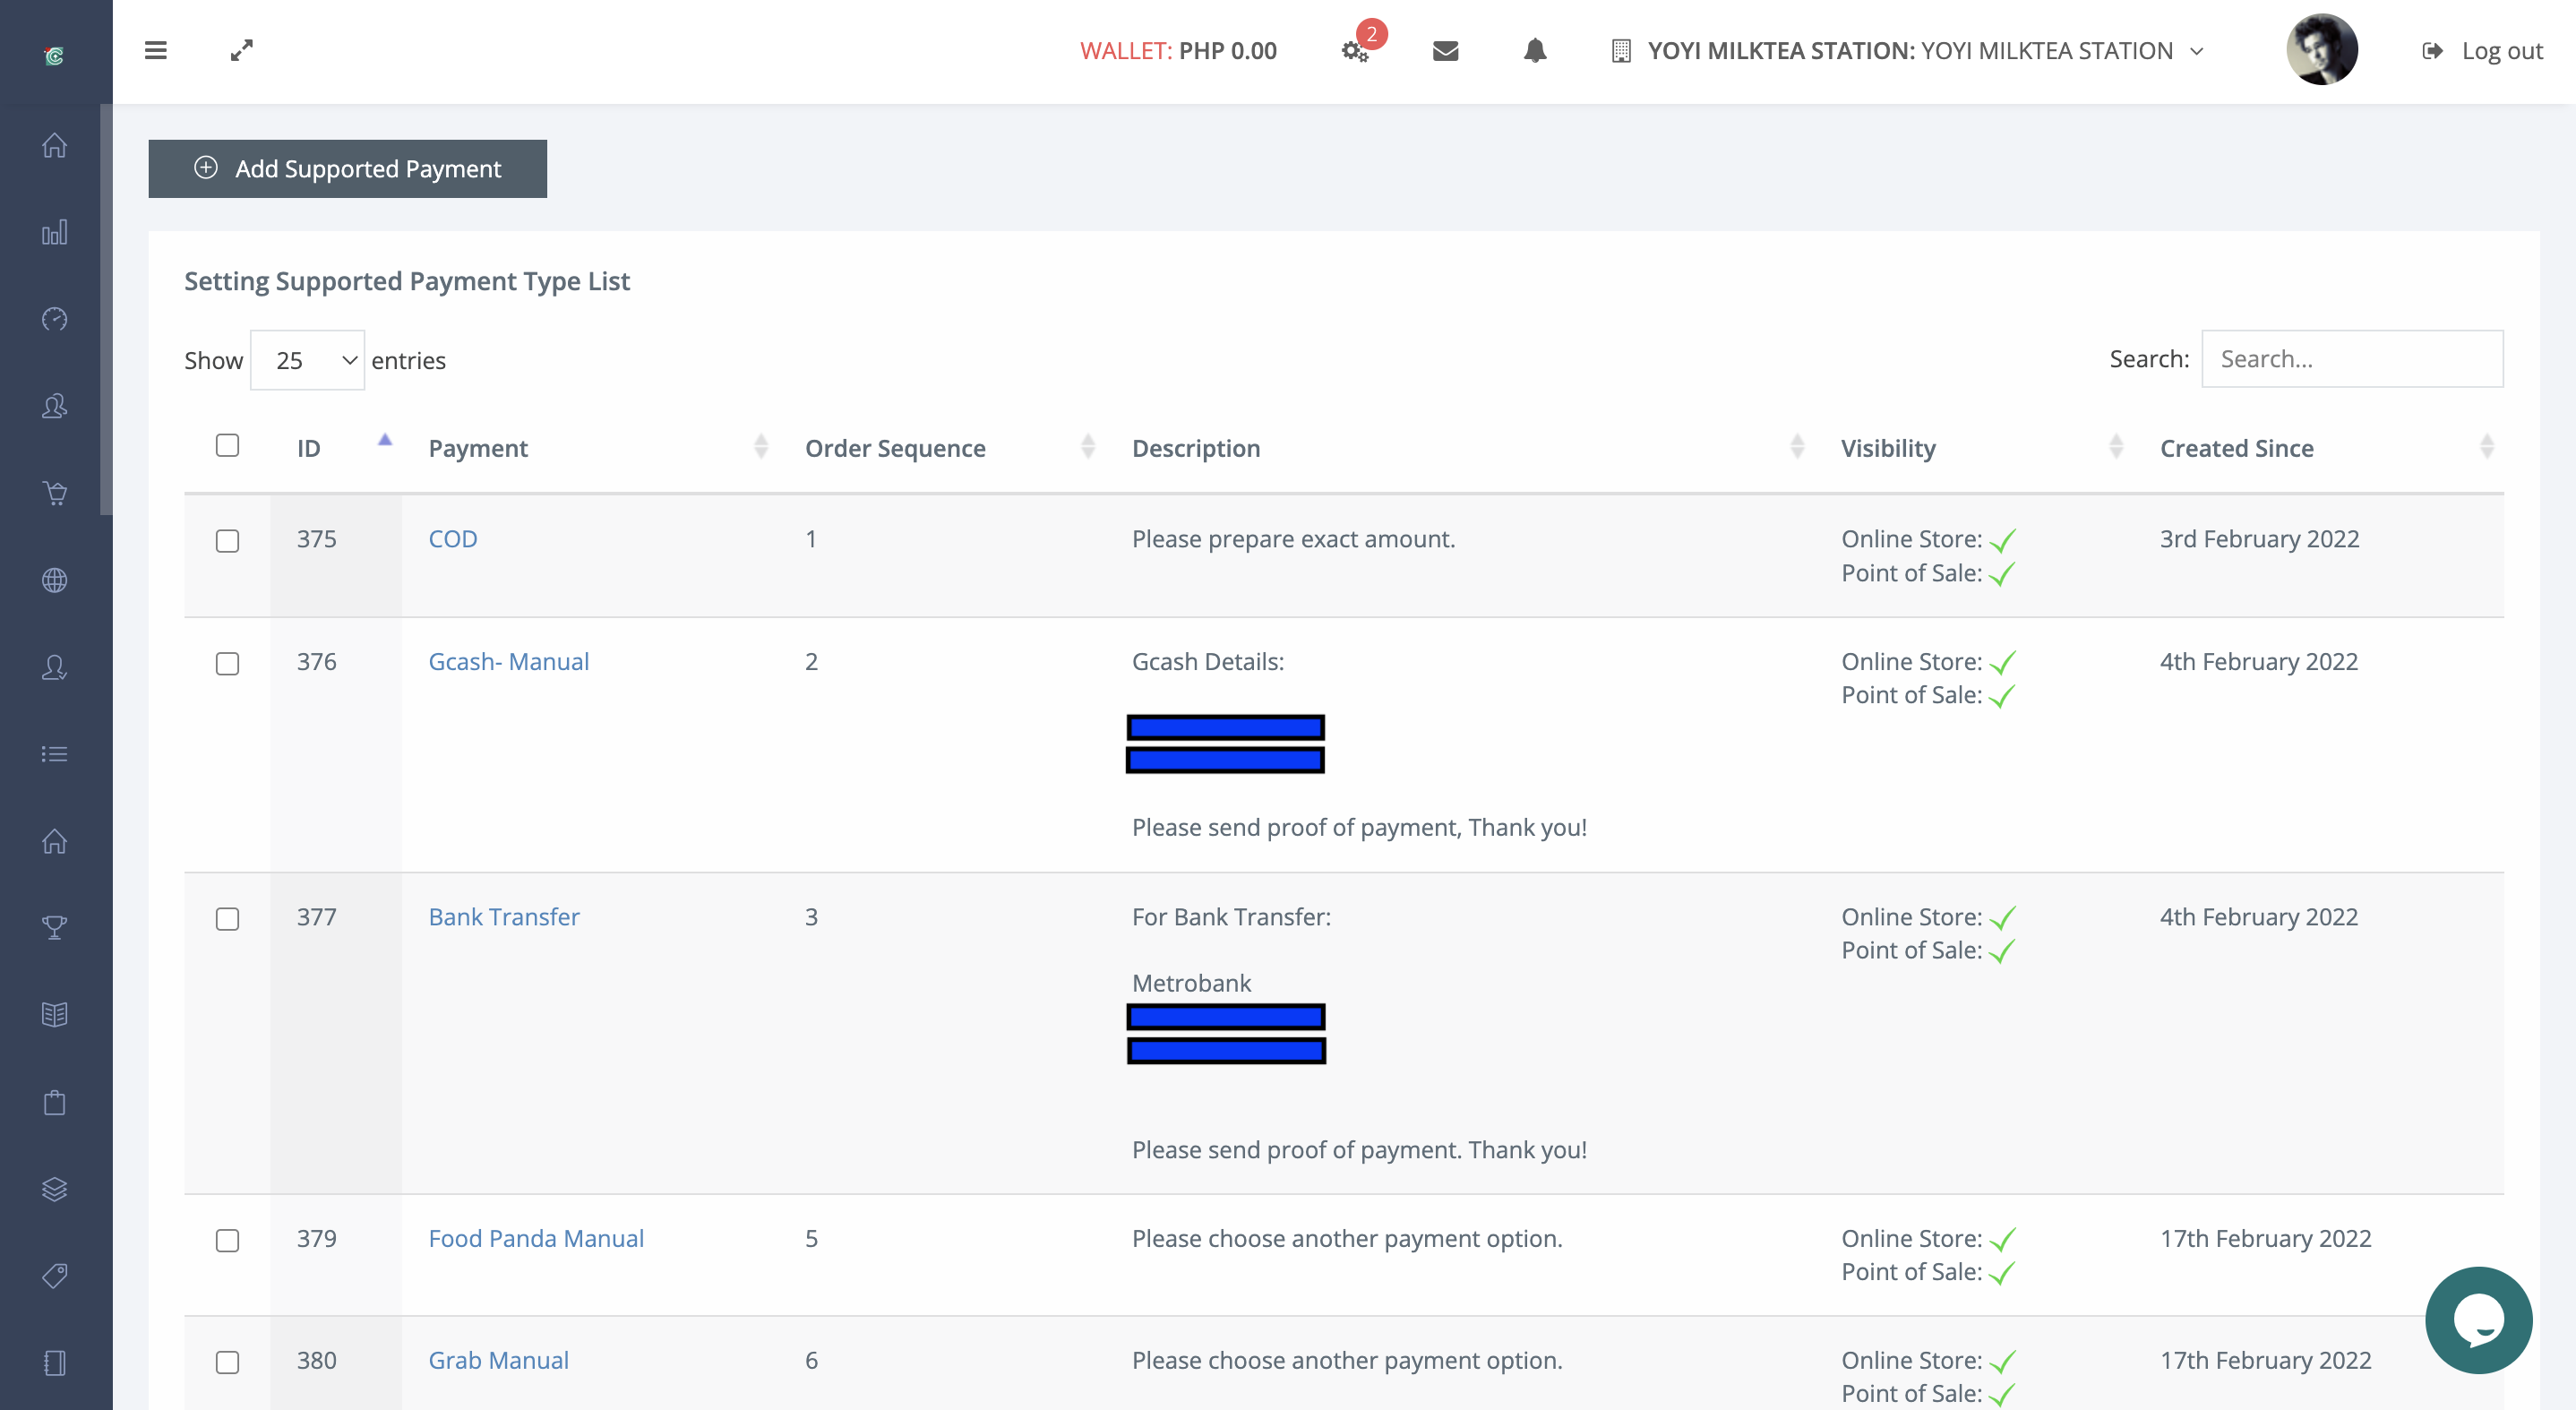
When a customer checks out either on the Messenger Store, Website Store and other integrated platform, they can choose to pay for their order using any of the methods that you've enabled in the Setting → Supported Payments of your Clibase Admin Portal.
There are different options available for you to set up:
- Online Payment Methods: Credit or debit cards, PayPal, Gcash, GrabPay and PayMaya, etc.
- Traditional/Manual (offline payment methods): Cash on delivery, Cash on Pickup, Bank Deposit, etc.
Online Payments is standard and already included on the checkout page of your store.
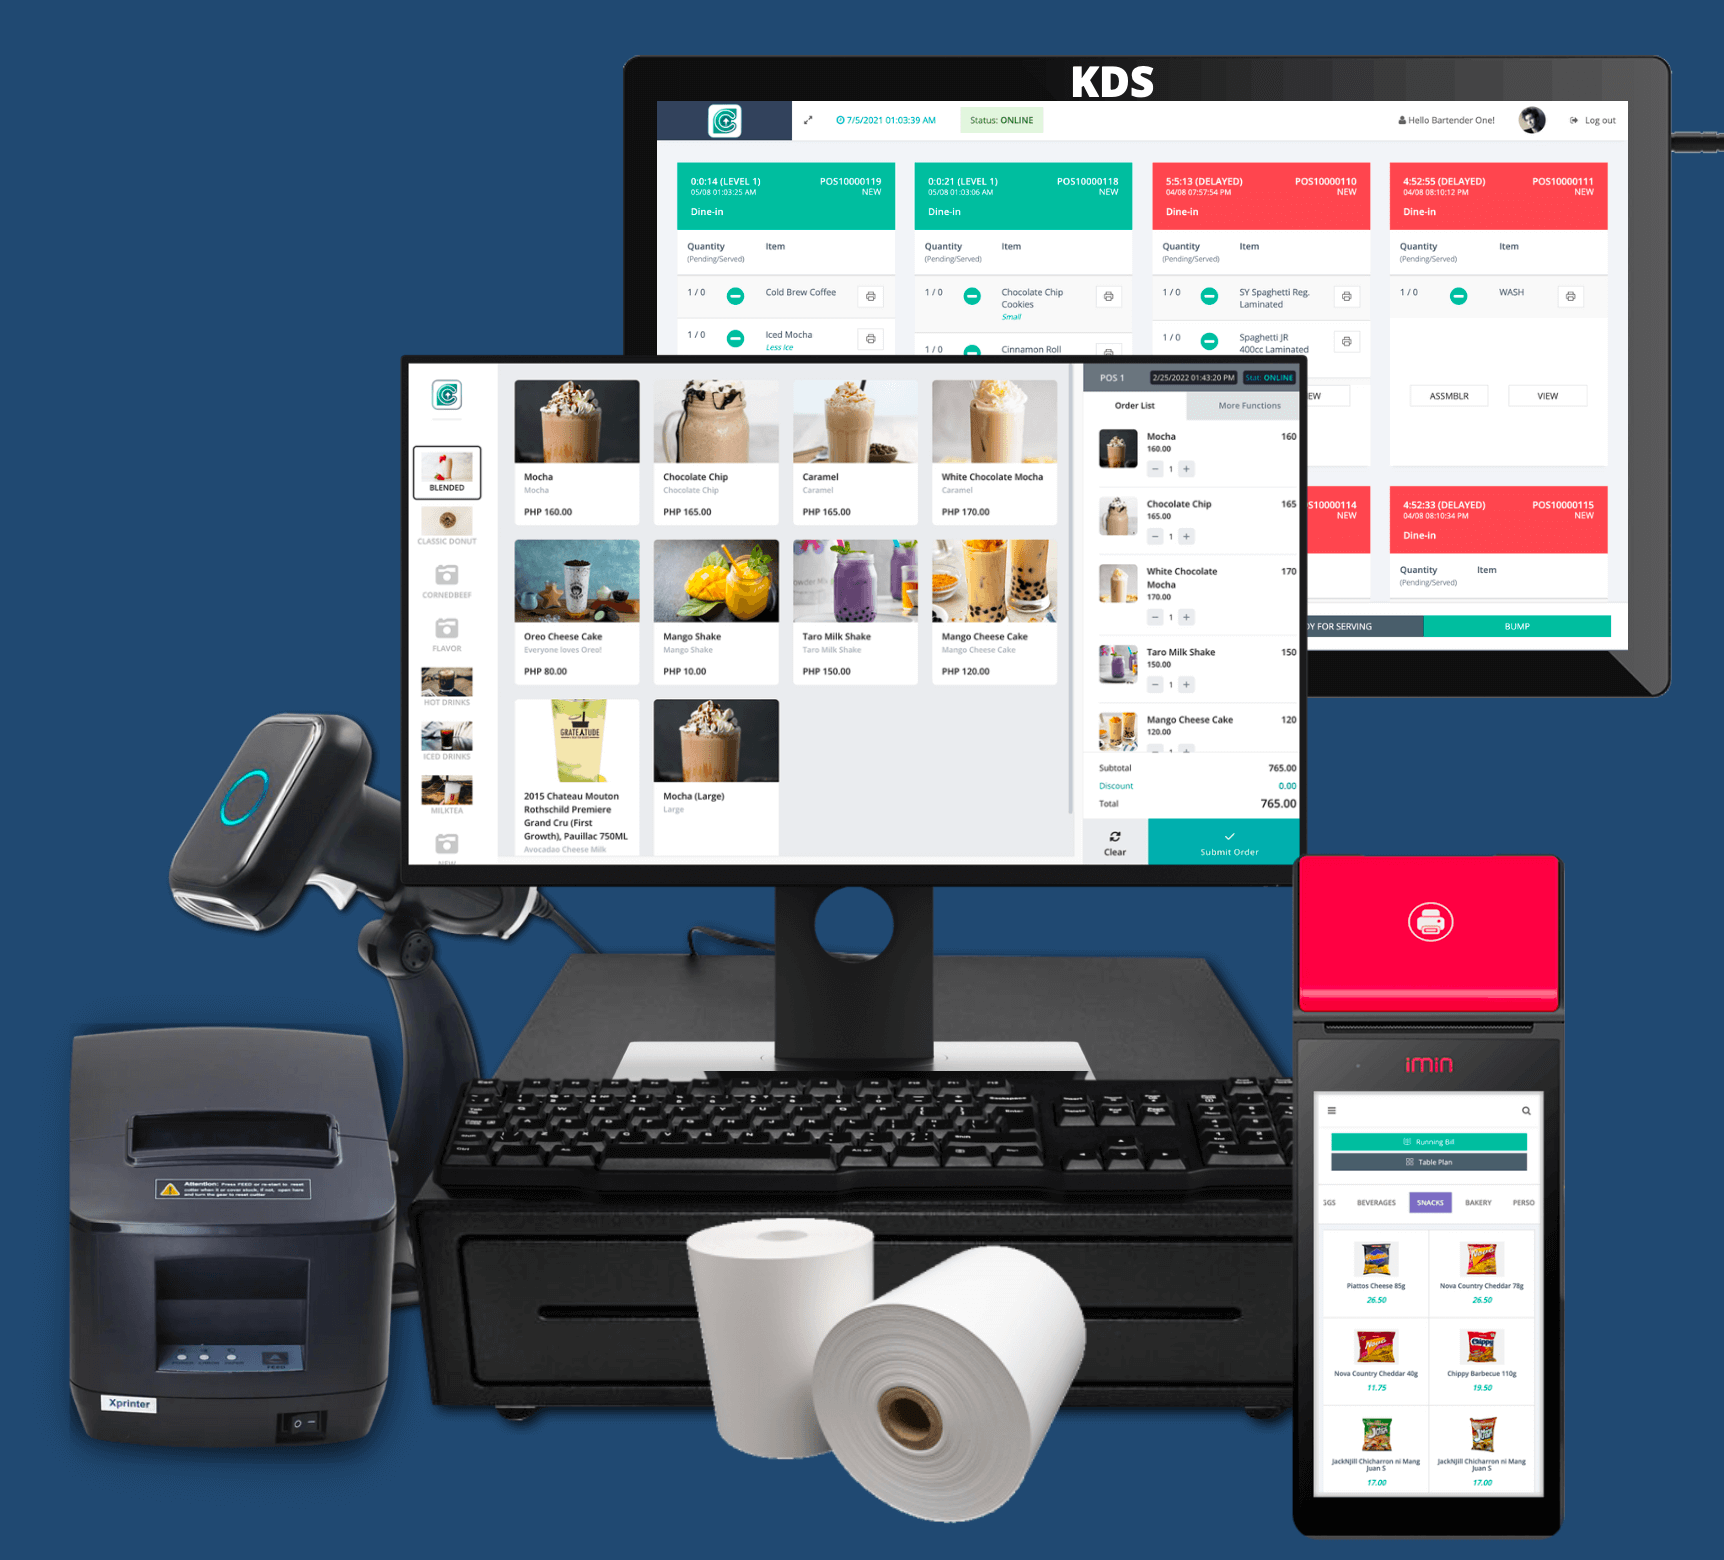
You can also choose payment methods that can be used and are available for the Point-of-Sales system.
There is no limit to how many payment methods you can set up, but two-three methods should suffice and don’t distract shoppers from finishing their purchase.
The checkout page may look like this:
With upgrades often comes new features.
As your partner & provider, Clibase Tech ensures that you are well informed on every feature being released that could help to simplify a process, create insight into data that may not have been accessible prior and more.
Upgrades in software can improve connectivity by linking systems, automating key functions, and boosting responsiveness.
This can lead to better demand forecasting, precise inventory management, increases in efficiency and opportunities both for cost reduction and production.
If you are currently merchant partner of Clibase, you want to contact us to know more, upgrades may help to eliminate communication errors, and silos or even gain the capability to complete tasks in one solution.
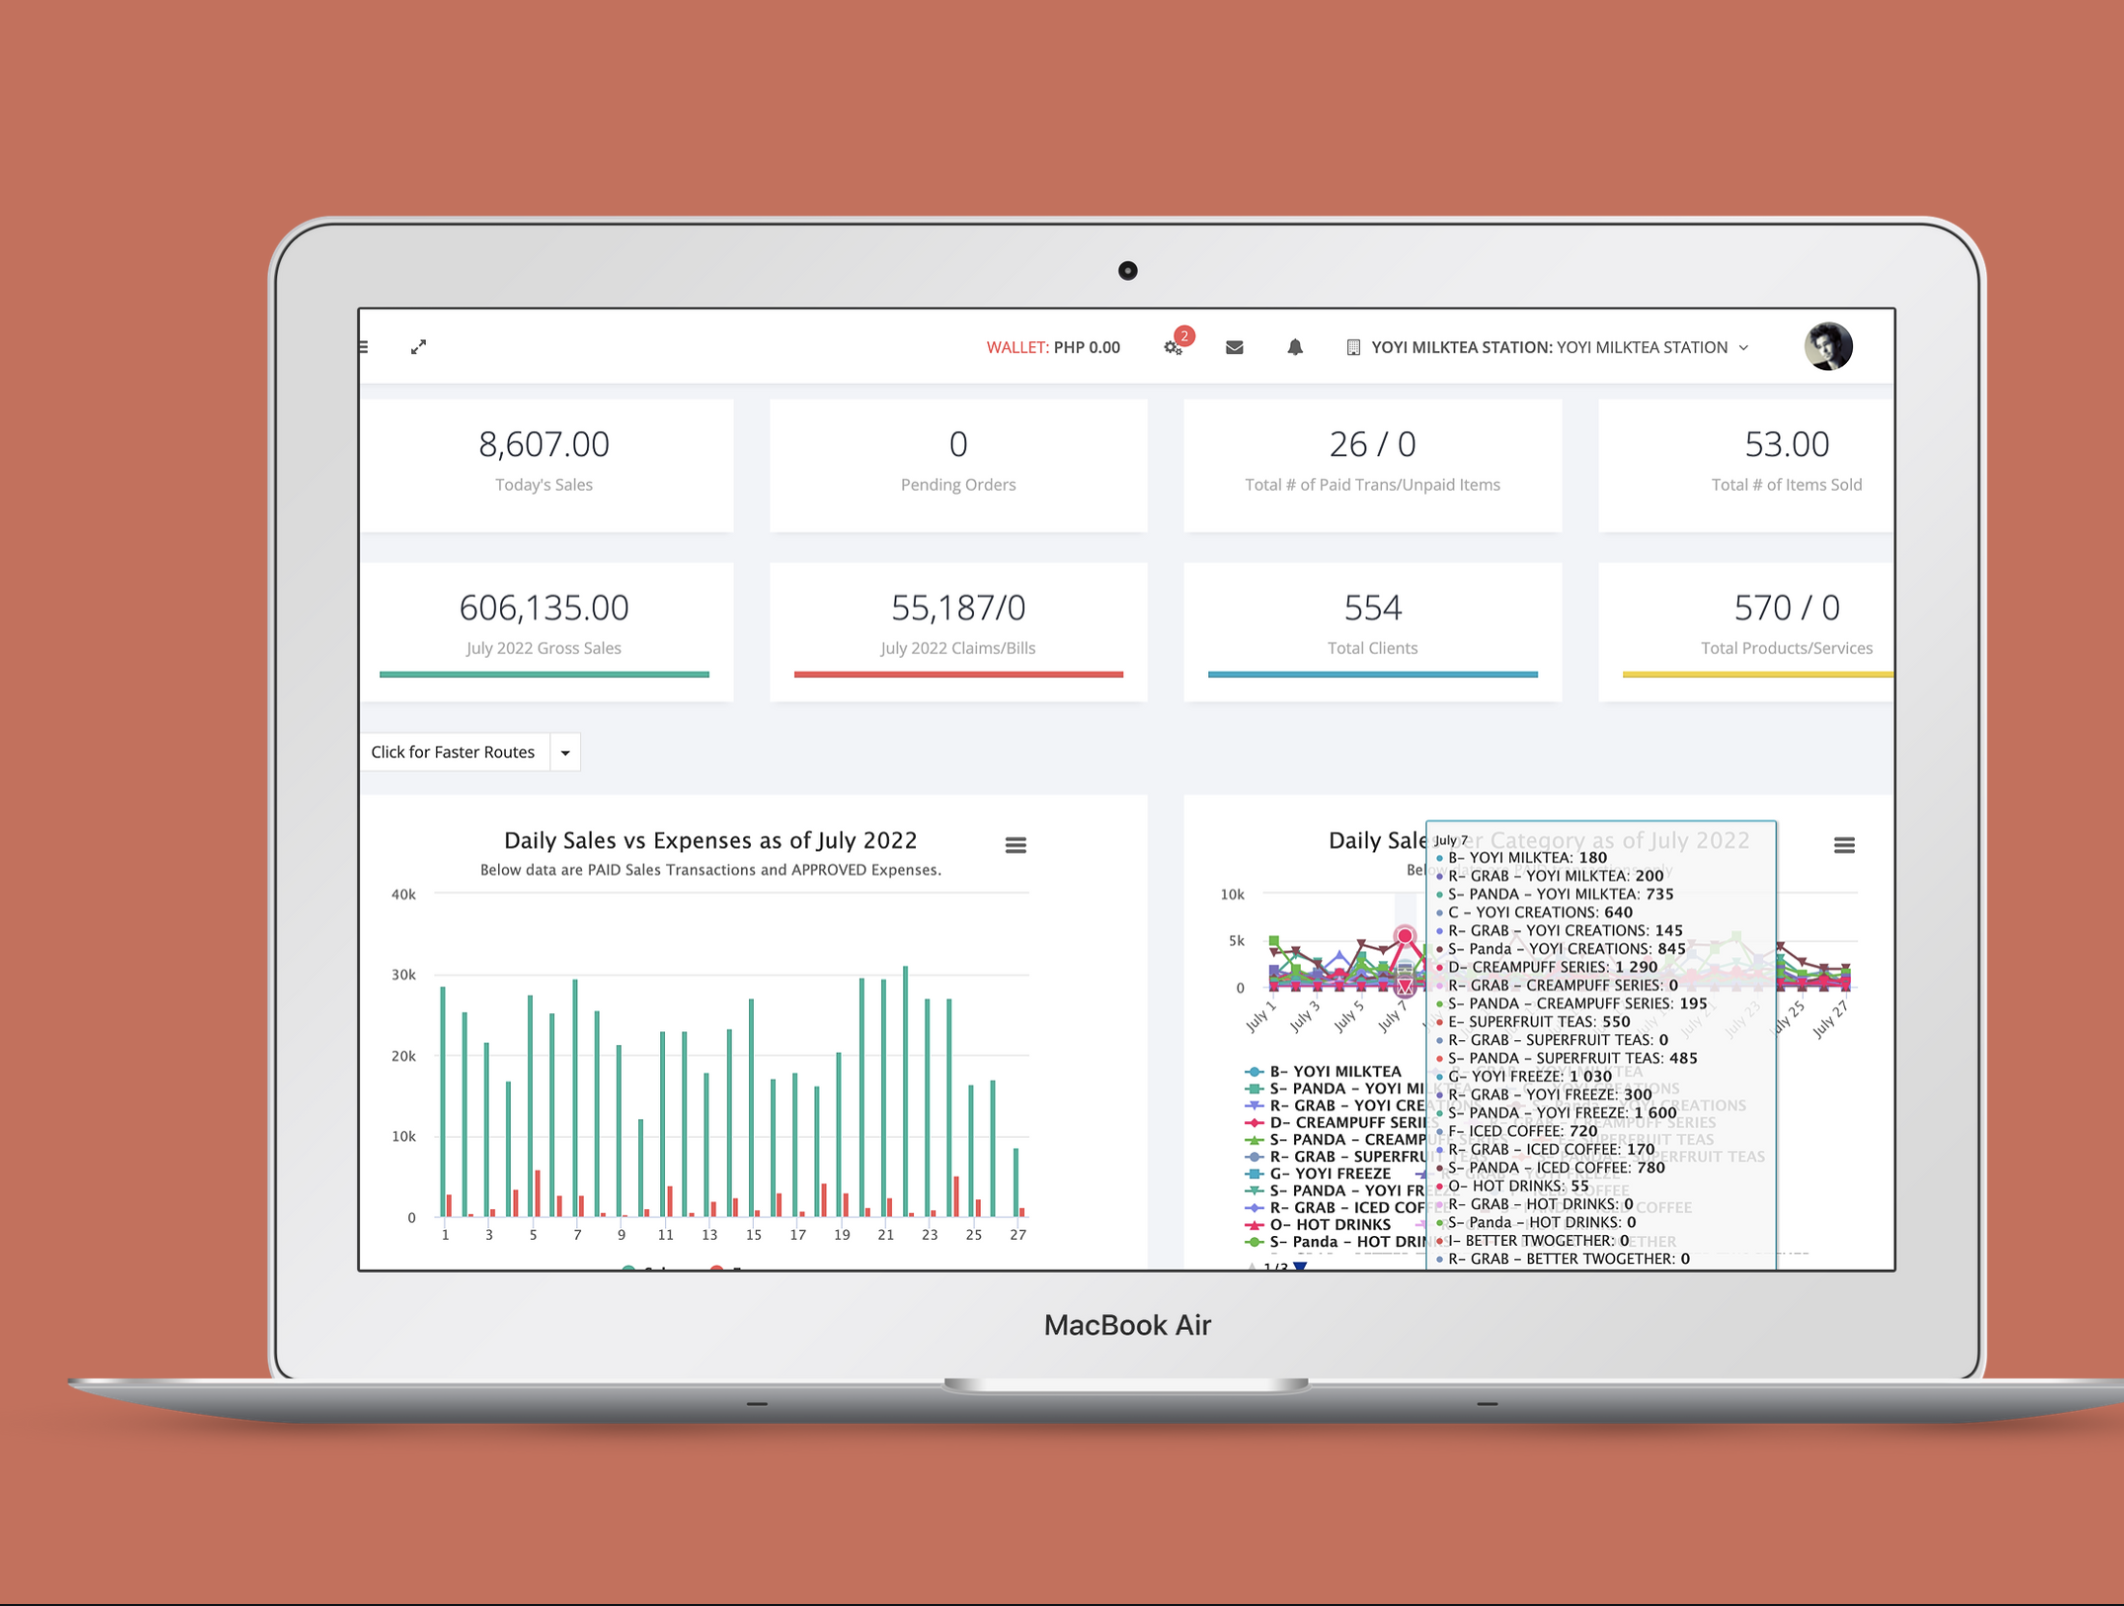
Being able to have one source for all business data helps to improve data accuracy and reliability.
The Facebook Messenger channel lets you sell on both Messenger App while also providing you with important insights into your ad performance and customers.
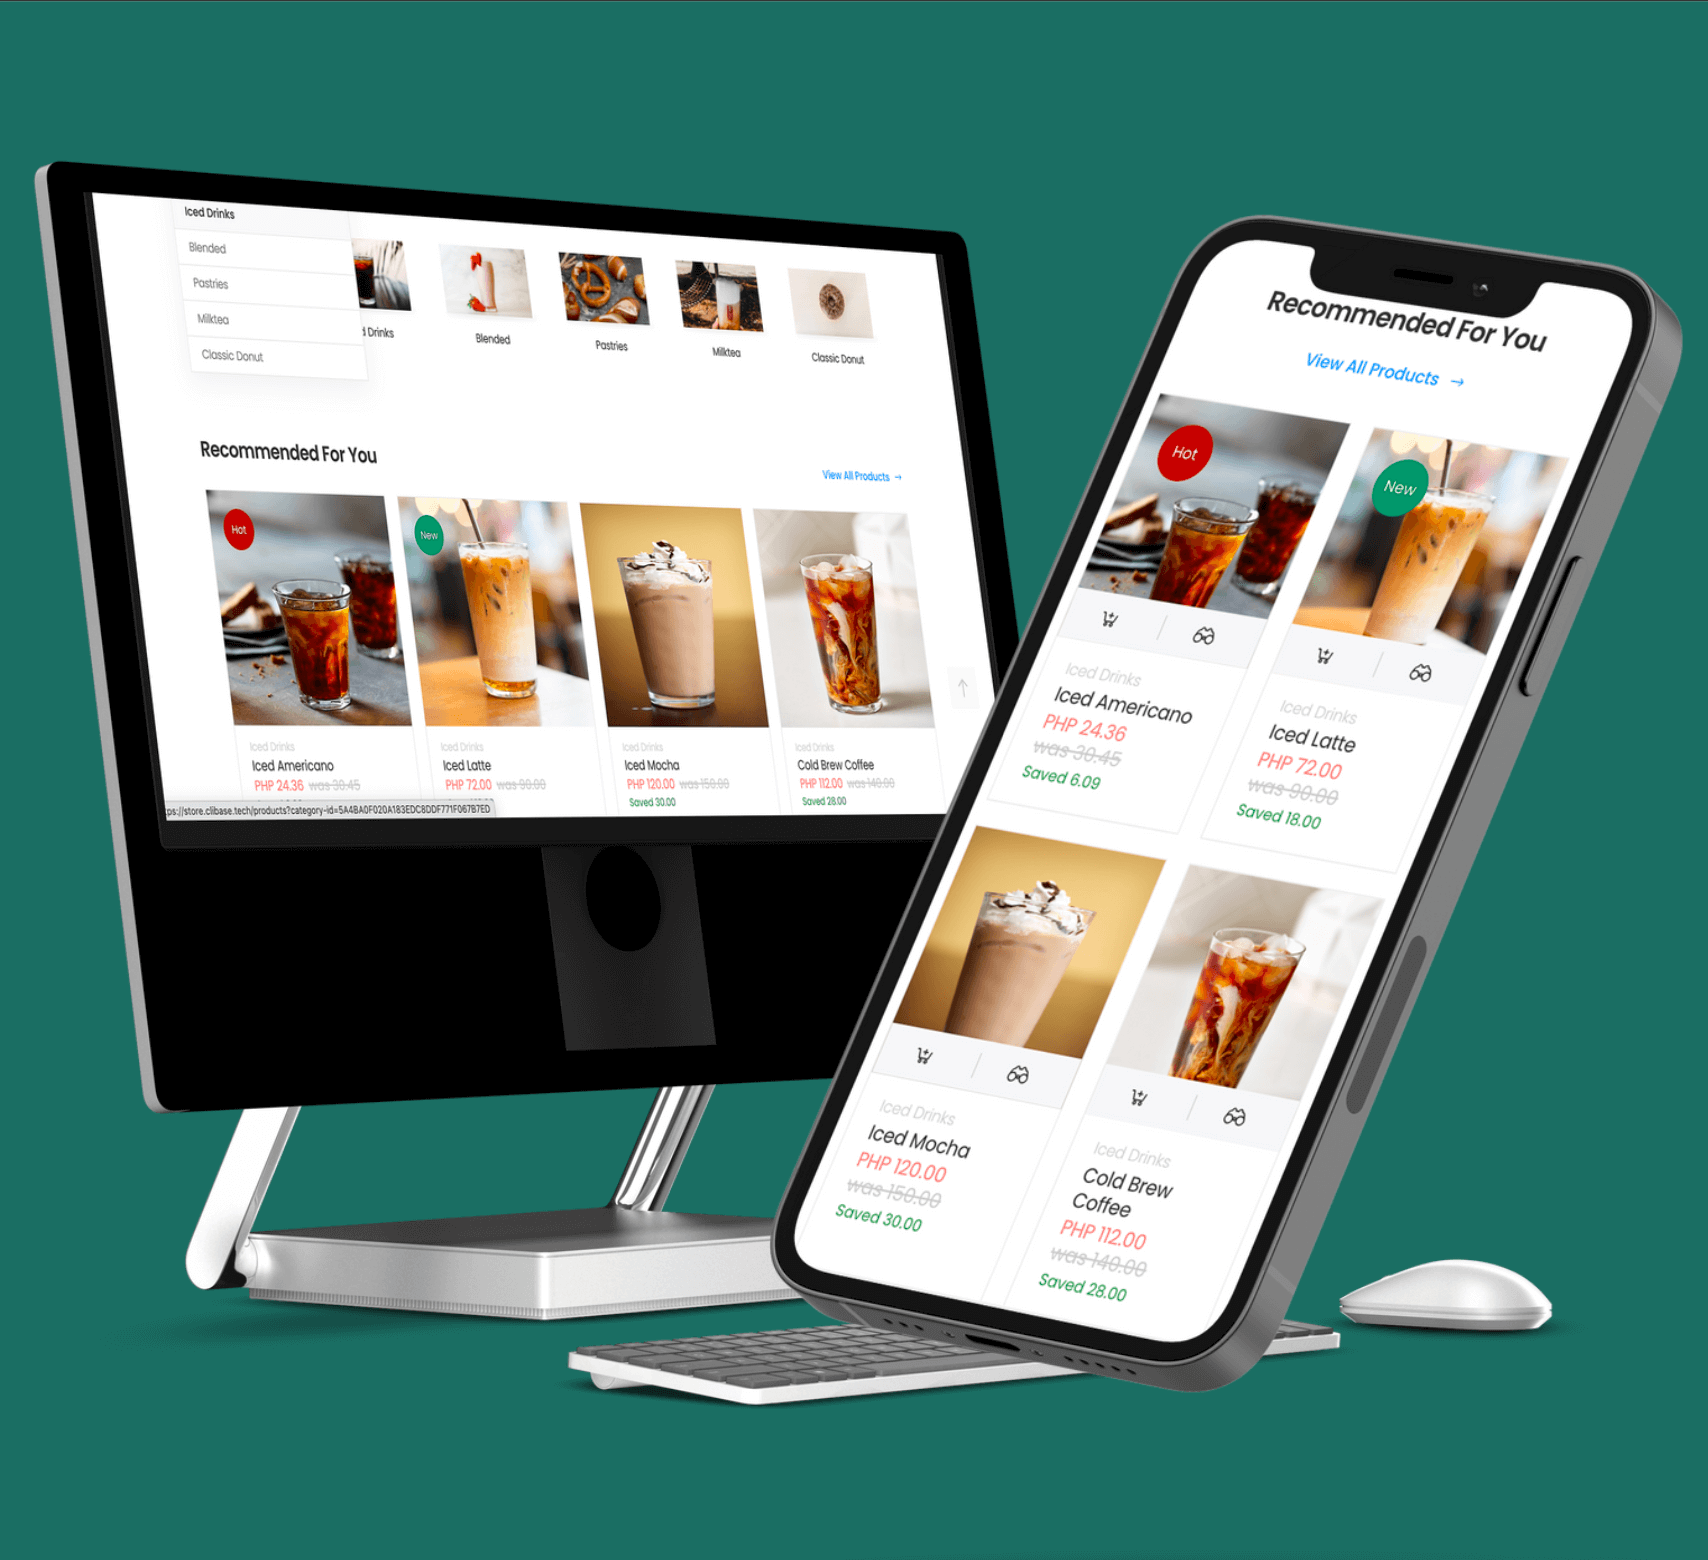
Clibase provides a powerful online store either via mini-app or chat commerce.
To use the Messenger Online Store, your store needs to be on the Starter Clibase plan or higher.
Before you can start using the Messenger Store, you need to set up a Facebook Business Manager that's connected to both your business's Facebook Page and an ad account that has an admin role for the Business Manager.
Make sure that you have integrated the Store via Facebook.

